| onMenu | |
| onTab | |
| Nav | |
| Main | |
| Footer | |
| Total | |
| Window |
Anthem Room Correction (ARC®) puts the sophistication and power of an advanced audio lab in your hands so that you can achieve perfect sound at home. Our PhDs did the hard work, so you don’t need an engineering degree to use it.
Learn More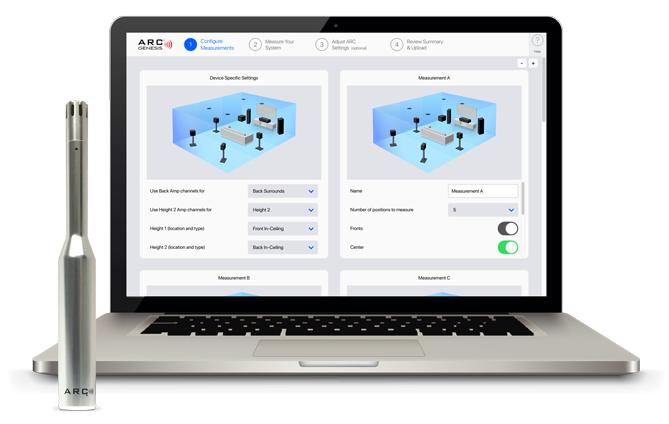


Facebook
Join the conversation with other Anthem fans on Facebook.
Twitter
Keep up with everything Anthem on Twitter.
Flickr
View & download product photos, lifestyle images and logos on Flickr.
YouTube
Watch our information and product videos on YouTube.
Blog
Get the latest news and special announcements on our official Blog.